Video Tutorials
Learn UpSynth with our quick step-by-step tutorial videos.
Photo Restorations
Repair Torn & Damaged Photos
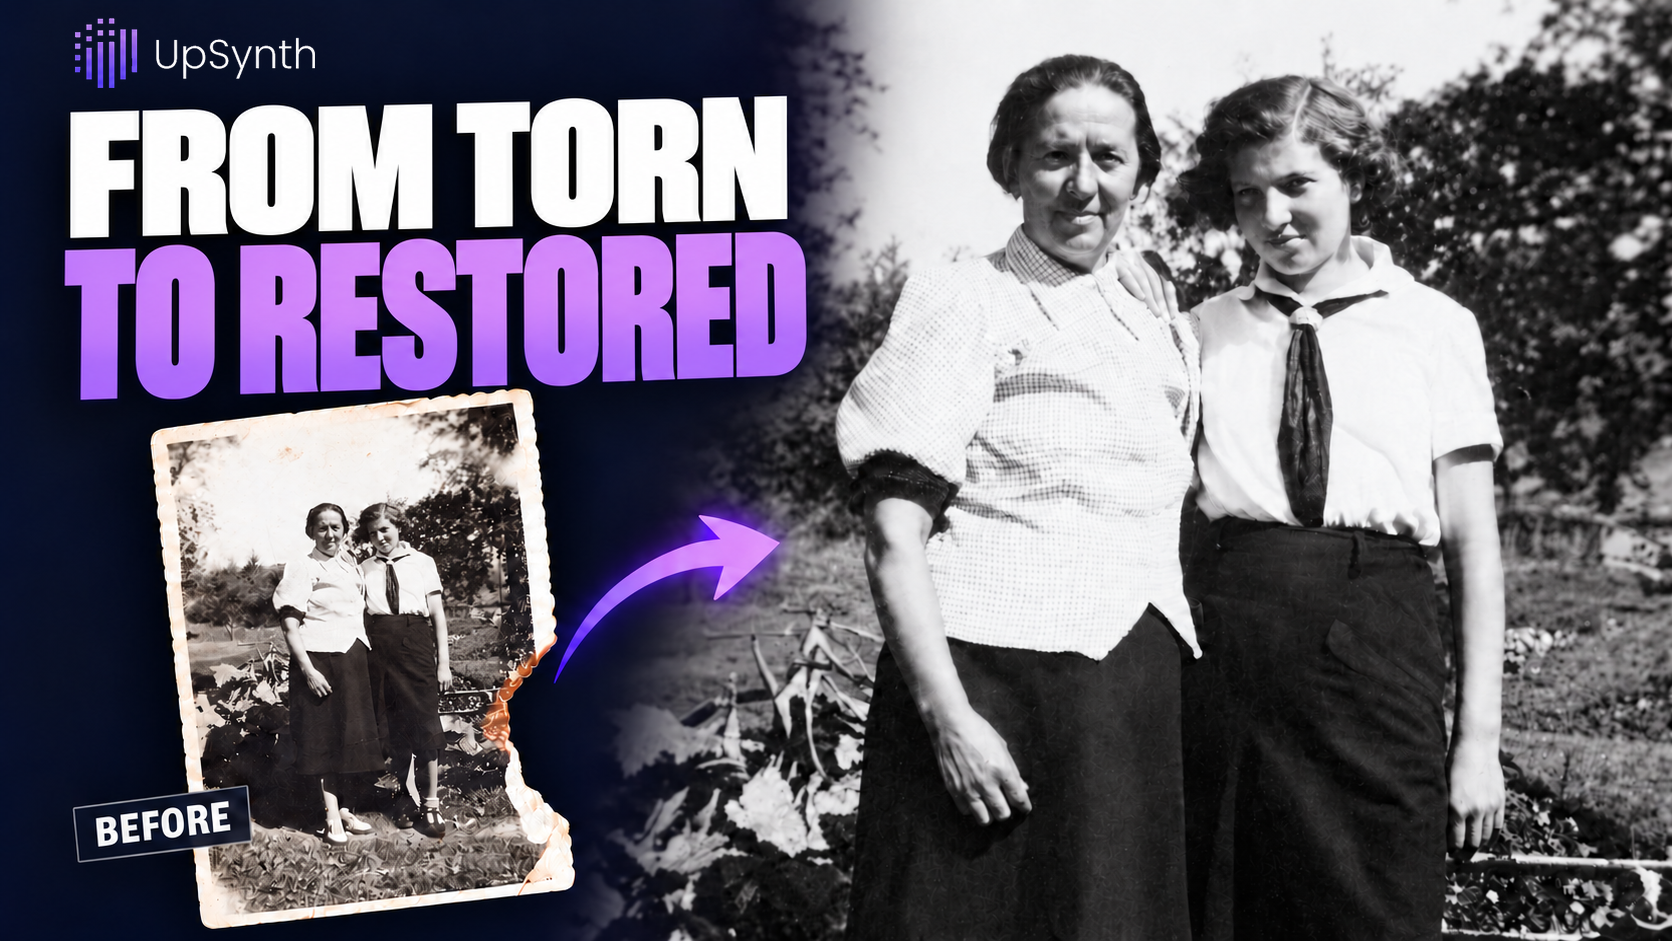
Learn how to restore old, torn, and faded photographs using UpSynth. Repair missing areas, remove damage, and enhance image quality while preserving the original black-and-white look.
In This Tutorial:
Repair Missing Areas / Remove Scratches & Stains / Compare AI Variations / Full Photo Restoration / 4× Upscaling / Preserve Black & White
Prompts Used in This Tutorial:
"Repair the missing area in the lower right corner of this old photo."
"Remove the white faded area"
"Restore this old damaged black and white photo. Repair the missing area in the lower right corner. Remove all scratches, dust, white faded stains, blur, and image noise. Keep it as a black and white photo."
Pro Tip: When repairing torn or missing areas, include some surrounding details in your selection. This gives the AI more context to reconstruct the damaged region naturally.
How to Restore an Old Passport Photo
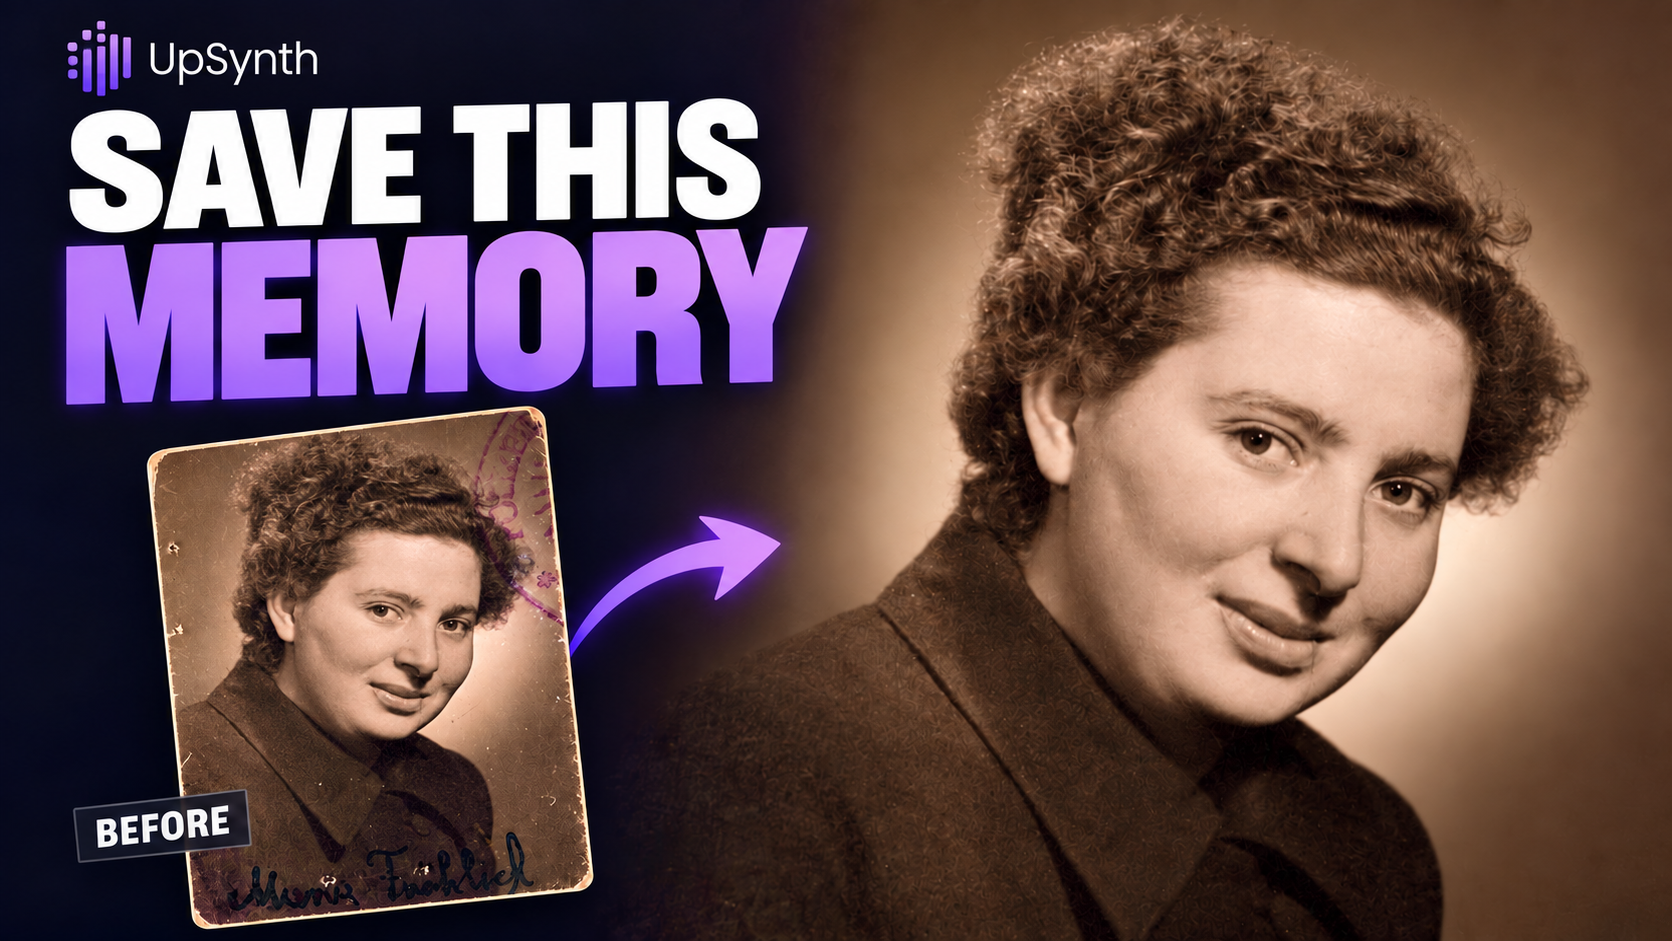
Learn how to restore a damaged passport photo using UpSynth. Remove scratches, stains, and missing areas, compare AI-generated variations, and preserve the original sepia tone. Finish by upscaling the restored portrait 4× for improved resolution and finer details.
In This Tutorial:
Passport Photo Restoration / Remove Scratches & Stains / Reconstruct Damaged Areas / Compare AI Variations / Preserve Sepia Tone / 4× Upscaling
Prompts Used in This Tutorial:
"Restore this old passport photo. Remove all holes, scratches, stains, writings and other visible damage. Reconstruct any missing or damaged areas. Keep the original sepia color and overall photographic style."
Pro Tip: AI restoration may reconstruct details rather than recover the exact original information. Always check facial features and fine textures against the original photograph.
Photo Editing & Modifications
Change Head Direction in a Photo
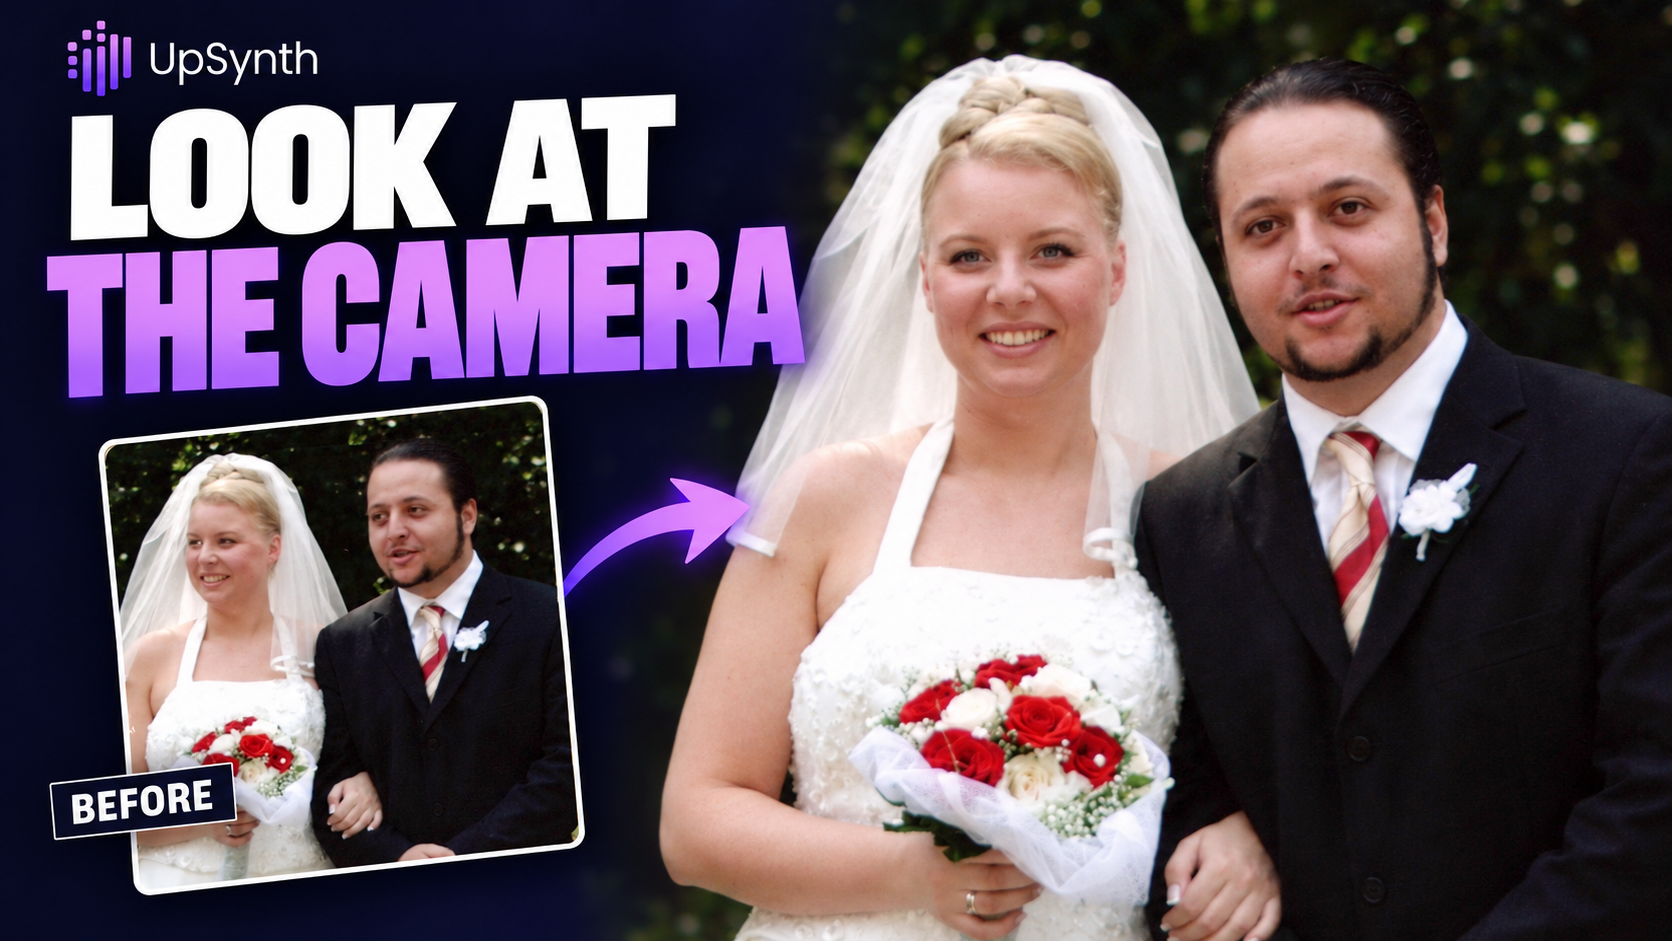
Learn how to adjust head directions in a photo using UpSynth. Select and modify each person individually, turn their faces toward the camera, and compare AI-generated variations to achieve a natural-looking result that blends with the original photo.
In This Tutorial:
Change Head Direction / Face Adjustments / Precise Selections / Modify with Prompts / Compare AI Variations / Natural-Looking Results
Prompts Used in This Tutorial:
"Turn his head toward the camera so he is looking directly into it. Make sure the head matches the rest of the photo in quality, lighting and overall appearance, so it blends in naturally."
"Turn her head toward the camera so she is looking directly into it. Make sure the head matches the rest of the photo in quality, lighting and overall appearance, so it blends in naturally."
Pro Tip: When selecting a head, include some surrounding details to help the AI blend the adjustment naturally into the photo. For the bride, make sure to include the veil so it moves consistently with the new head direction.