Upload the image in a sufficient resolution.
Then resize the image to the desired size. In our case, we performed a MAX Upscale.
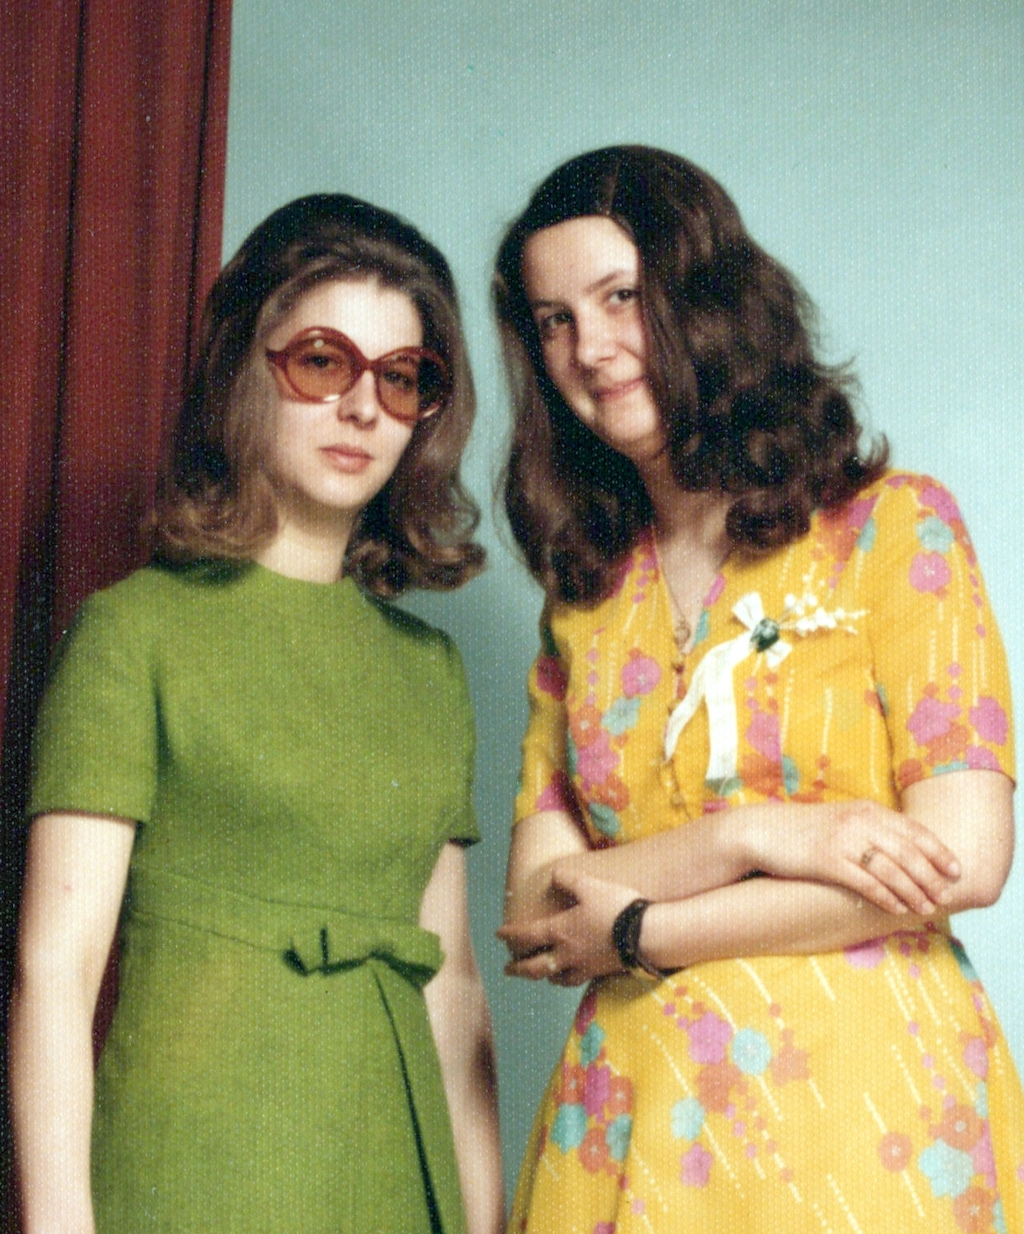
The original was scanned with an Epson FastFoto FF-680W at 600 DPI. The photo paper used at the time has a slight dot pattern that can be clearly seen in the scan.

Select the entire image using the "Selection Tool".
On the left, choose the "Modify" mode and enter the following prompt:
"This is an old color photograph that I scanned. Please remove the small dots caused by the scan. I want a clear, modern, and sharp photo without any uneven areas or scratches." and click Modify.
After a short wait, four suggestions will be displayed, from which you can choose. The suggestion that most closely matches the original should be selected.
As with any other AI, Modify changed the faces and hands too much.
In the next steps, we will restore them step by step.
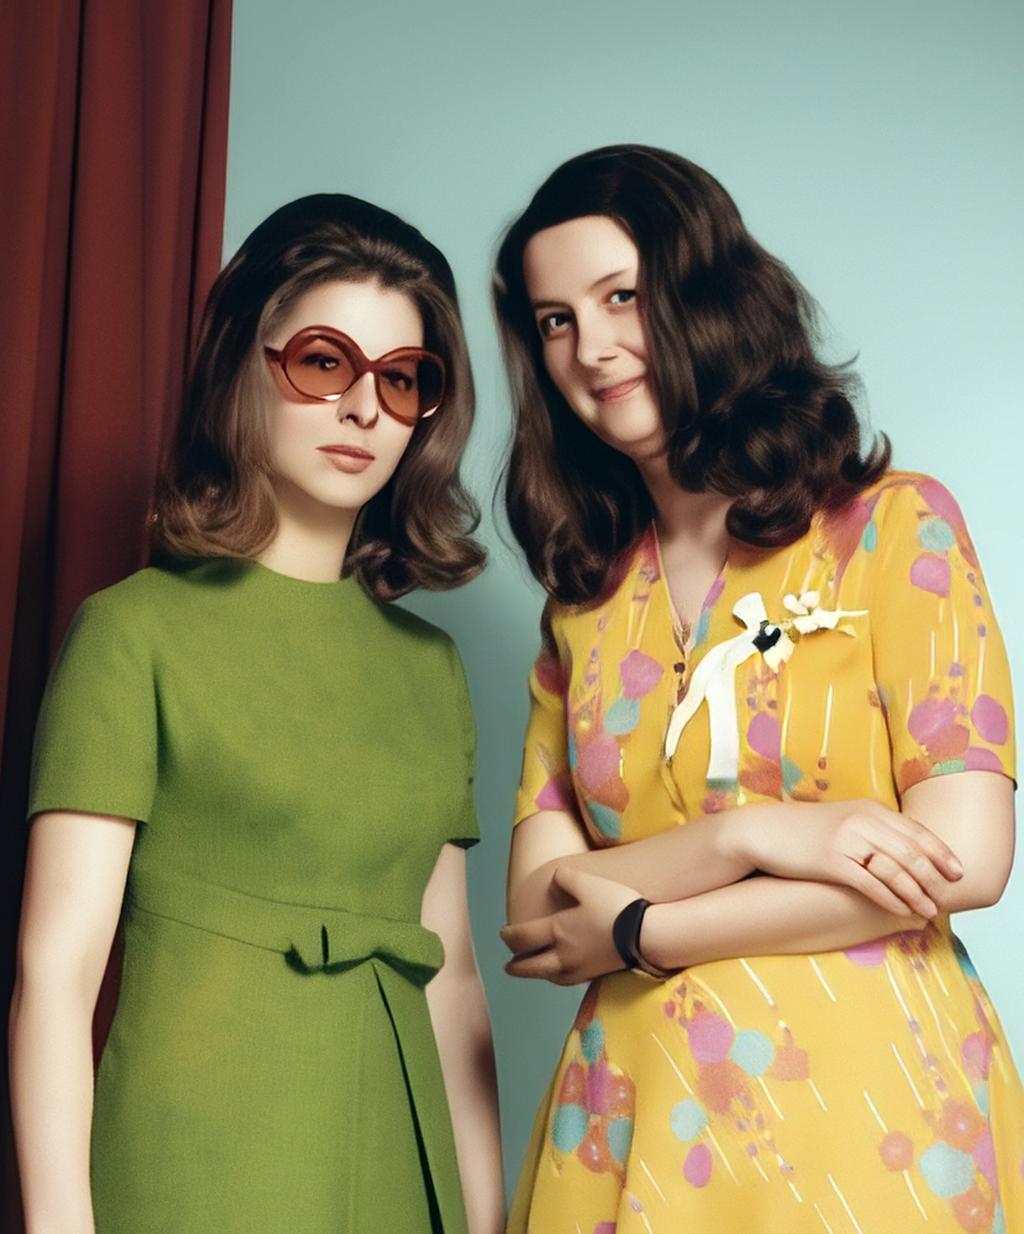
Select the face of the woman in the green dress using the „Selection Tool“. The selection should be slightly larger than the face. If the results do not meet expectations, you can experiment with different selection sizes.
On the left, choose the editing mode „Restore“ and click Restore.
After a short wait, four suggestions will be presented, from which you can choose. Here you can decide which restored face most closely matches the original.
Attention! If the original is too small or contains too many errors, it may happen that the face still contains image artifacts after using Restore. In this case, you can simply repeat the Restore process or adjust the selection beforehand. Alternatively, the resulting artifacts can be removed using Modify.

As in the previous step, select the face of the woman in the yellow dress using the Selection Tool and click Restore.
After a short wait, four suggestions will again be presented, from which you can choose.

Since the hands have also changed, we will restore them as well using Restore.
To do this, select the right hand of the woman in the yellow dress using the Selection Tool and click Restore.
After a short wait, four suggestions will again be presented, from which you can choose.

Finally, select the left hand of the woman in the yellow dress using the Selection Tool and click Restore.
After a short wait, select the best of the four suggestions.
It is important to mention that you can also select both hands and then click Restore. However, in some cases it may happen that none of the suggestions match the expectations for both hands. Therefore, it is generally advisable to avoid making too many changes in a single step.


Upload the image in sufficient resolution.
Then select the entire image using the „selection tool“.
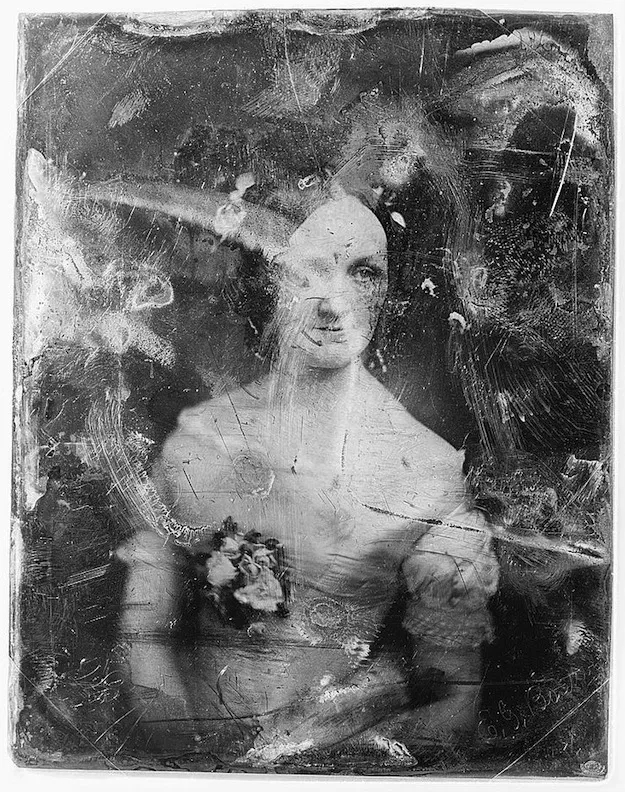
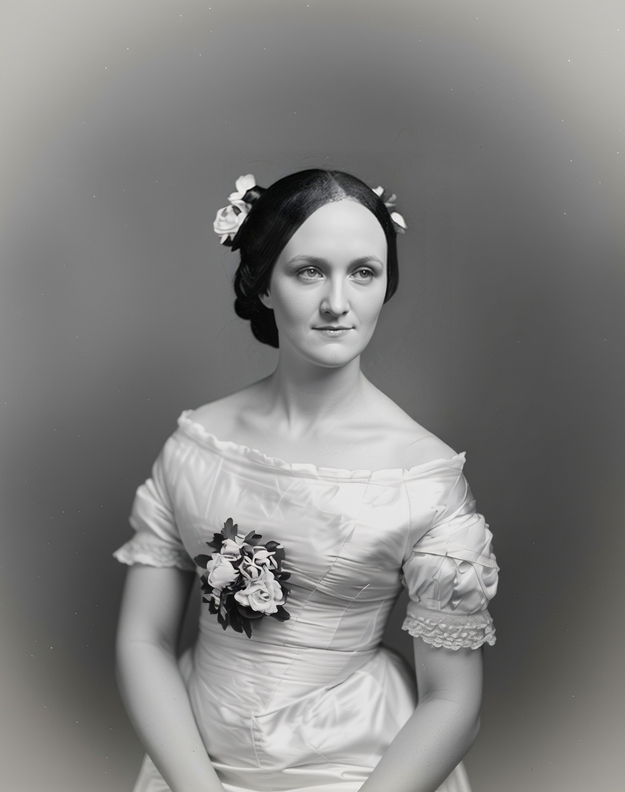
On the left, choose the „Modify“ mode and enter the following prompt: „This is a very old, faded photo. Please try to restore it so that all contours and colors are visible again. It shows a light-skinned woman in front of a neutral background.“ and click „Modify“.
After a short waiting time, four suggestions will be displayed to choose from. Select the one that most closely matches the original.
Due to the condition of the original image, there is a fairly large margin for interpretation.
In our case, the face was interpreted differently.

Select the face using the „selection tool“. The selection should be slightly larger than the face. If the results do not meet your expectations, you can experiment with different selection sizes.
On the left, choose the „Restore“ editing mode and click Restore.
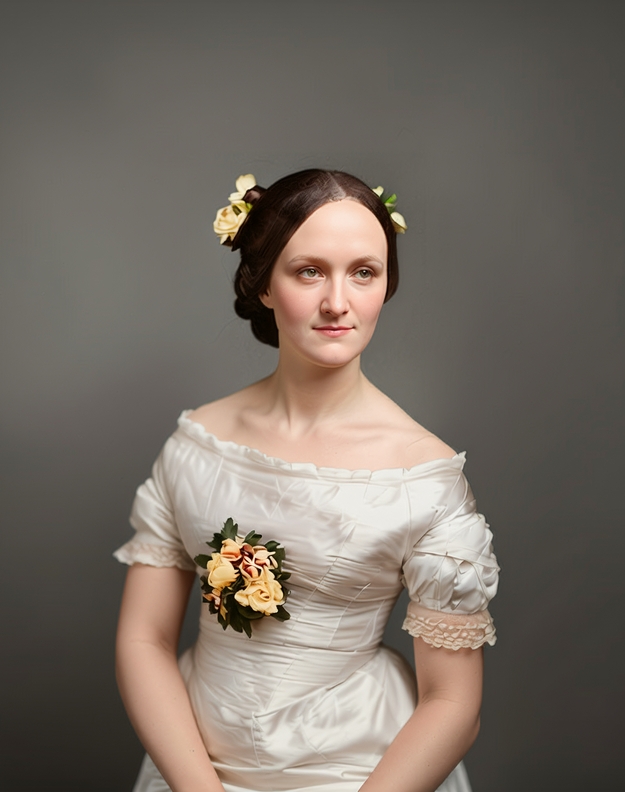
After a short waiting time, four suggestions will be presented to choose from. You can then decide which restored face most closely matches the original.
Note! The result will again contain image artifacts from the original image. We will remove these in the next step.

Select the face again using the „selection tool“. As in the previous step, the selection should be slightly larger than the face.
On the left, choose the „Modify“ editing mode and enter the following prompt: „Remove the errors from the face so that it matches the rest of the image.“ and click „Modify“.
After a short waiting time, four suggestions will be presented again. One of these suggestions should now be close to the original face and no longer contain any errors.
Select the entire image again using the „selection tool“.
On the left, choose the „Modify“ editing mode and enter the following prompt: „Please convert this into a color photo.“ and click „Modify“.
After a short waiting time, four suggestions will be presented again, from which you can choose.
This step is optional and largely a matter of preference, since the image was originally a black-and-white photo.
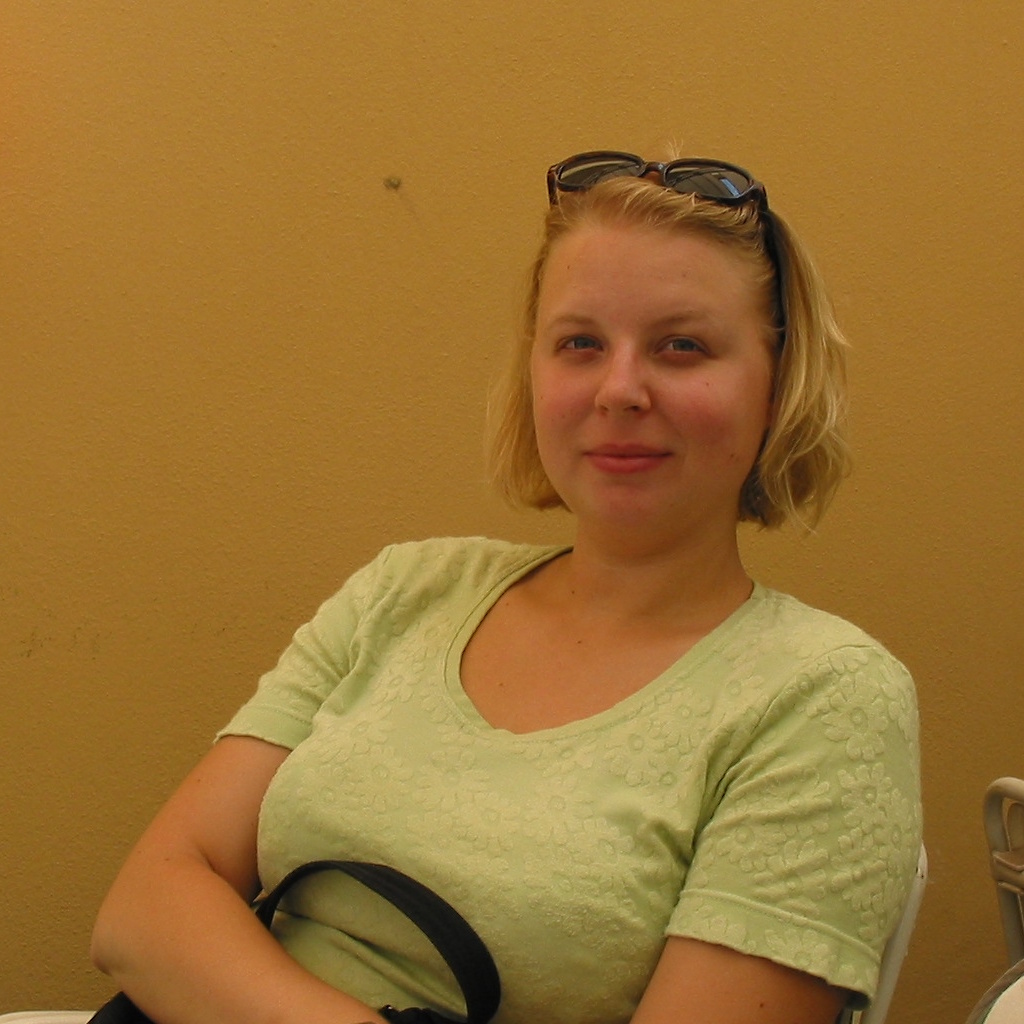
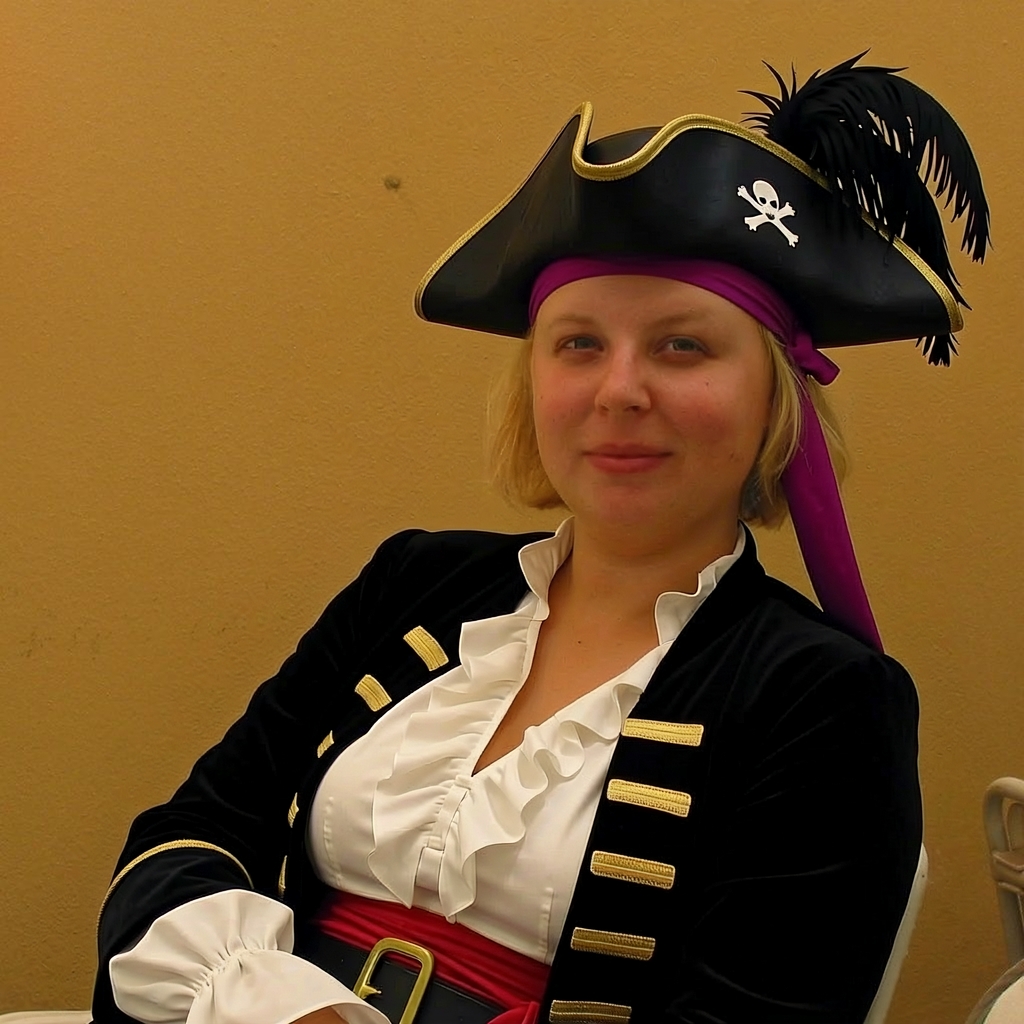
For all examples listed below, it is important that the image is uploaded in sufficient resolution. Then select the desired area using the „Selection Tool“. On the left, select the „Modify“ mode and enter the respective prompts from the examples below, then click „Modify“.
„Turn her into a pirate bride“
„Create a pixel art version of the woman, but make sure her face is still recognizable“

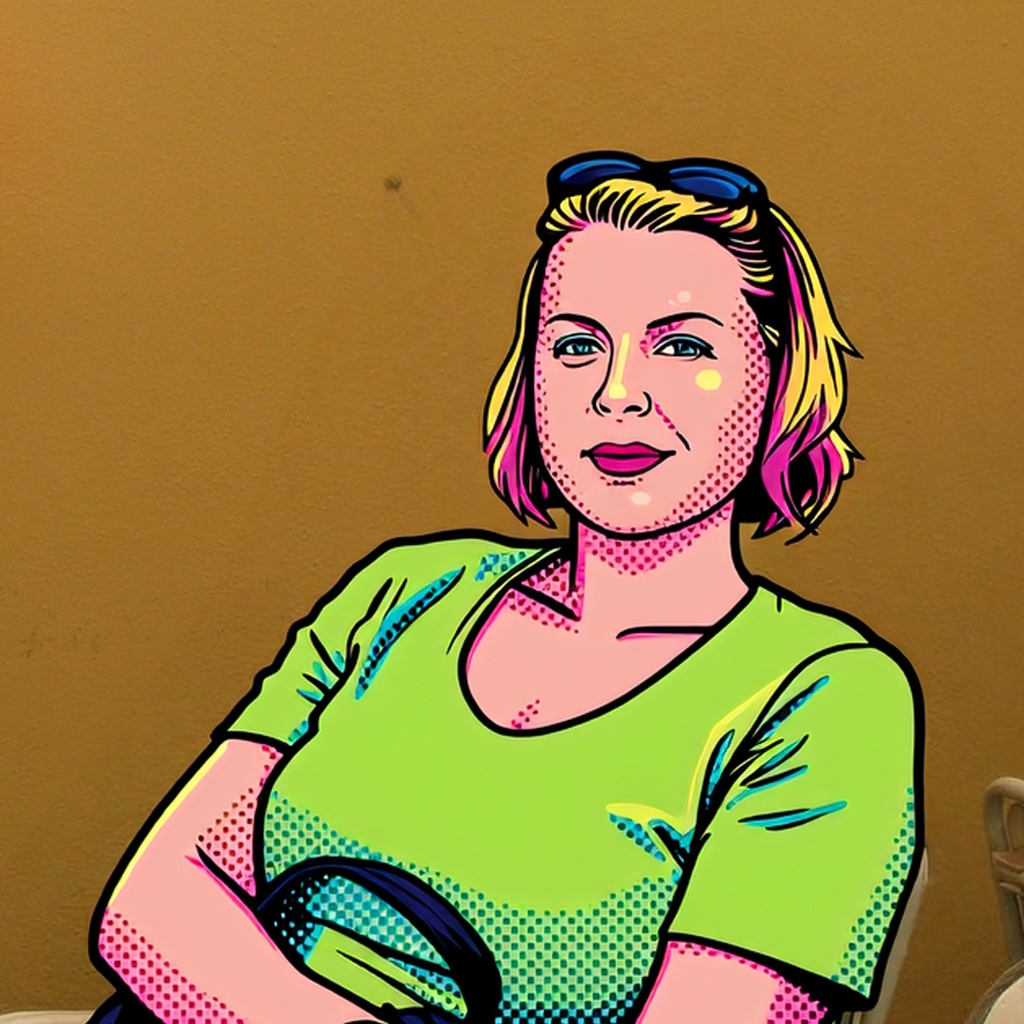
„Create an abstract pop art version of the woman, but make sure her face is still recognizable“
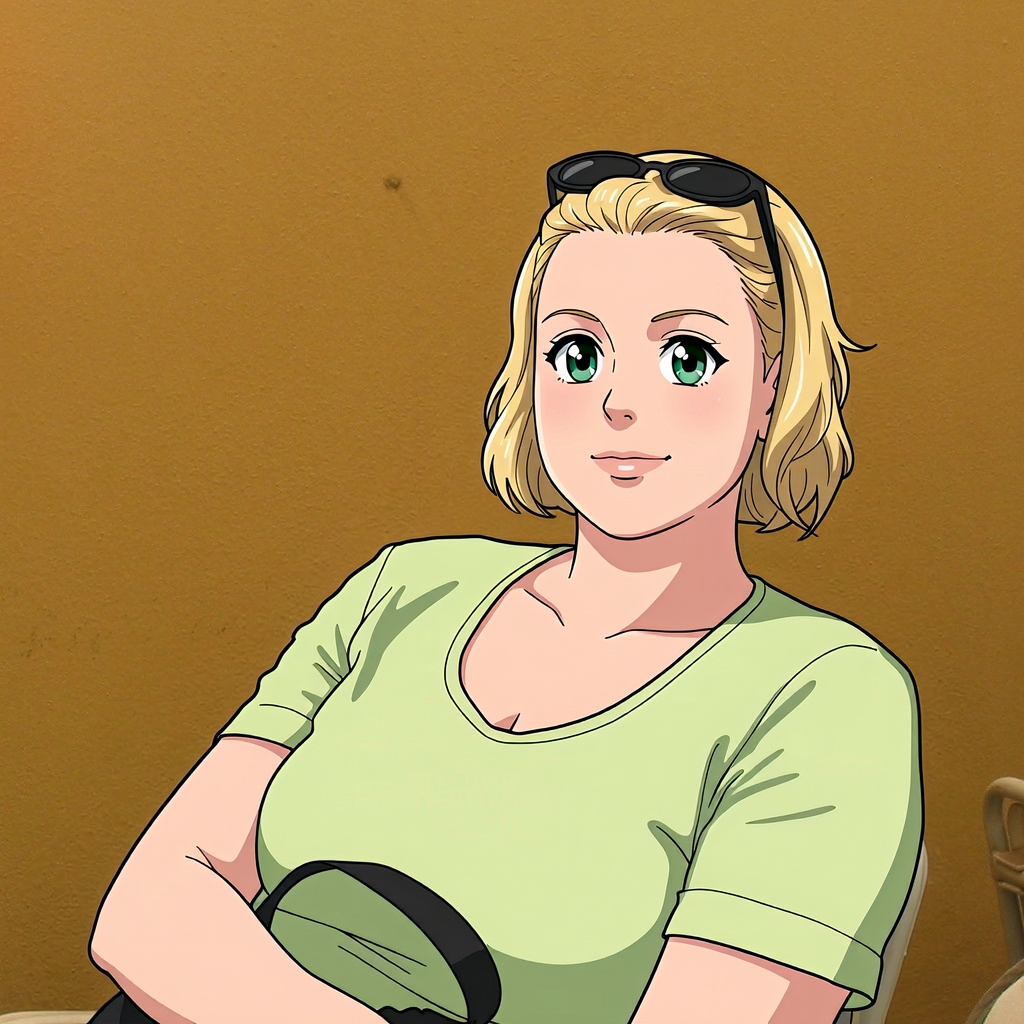
„Create an anime version of the woman“
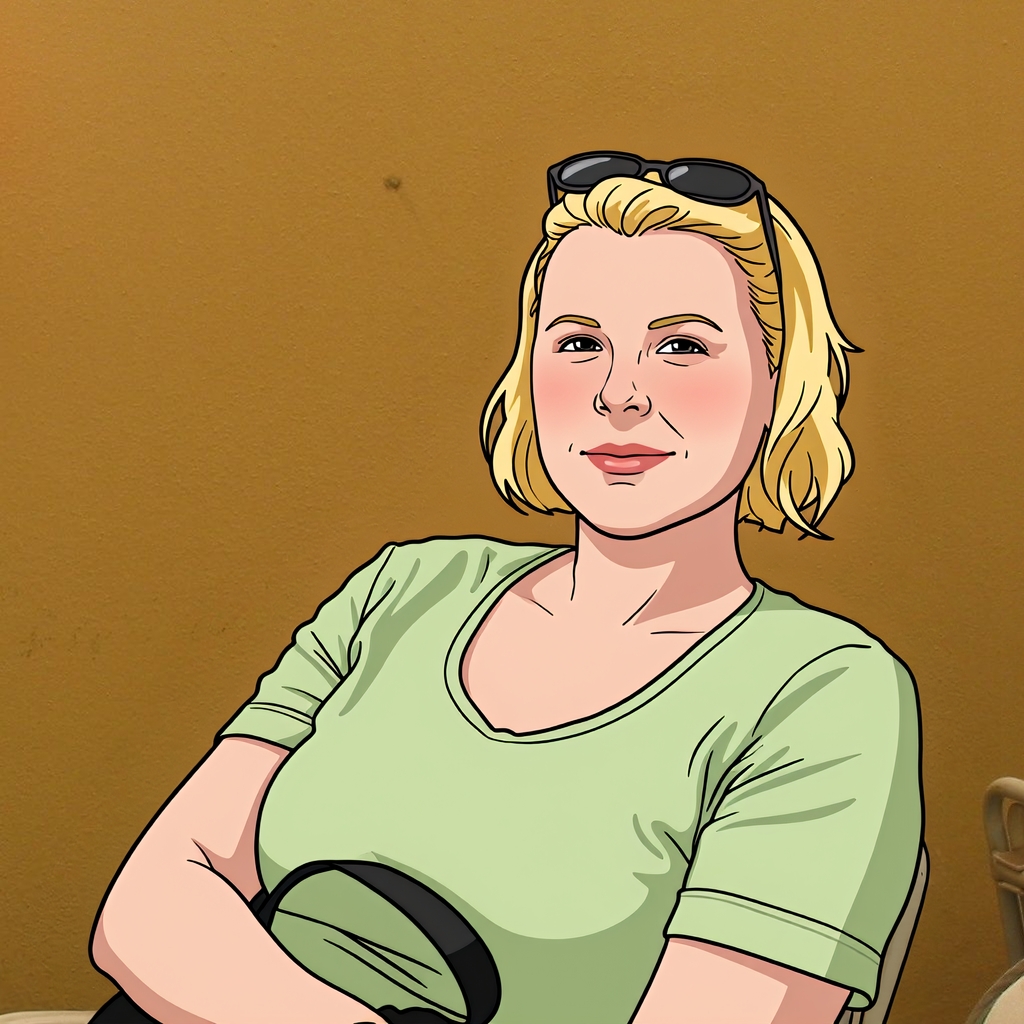
„Turn her into a beautiful cartoon character. Make sure her facial features remain the same so she is still recognizable.“.
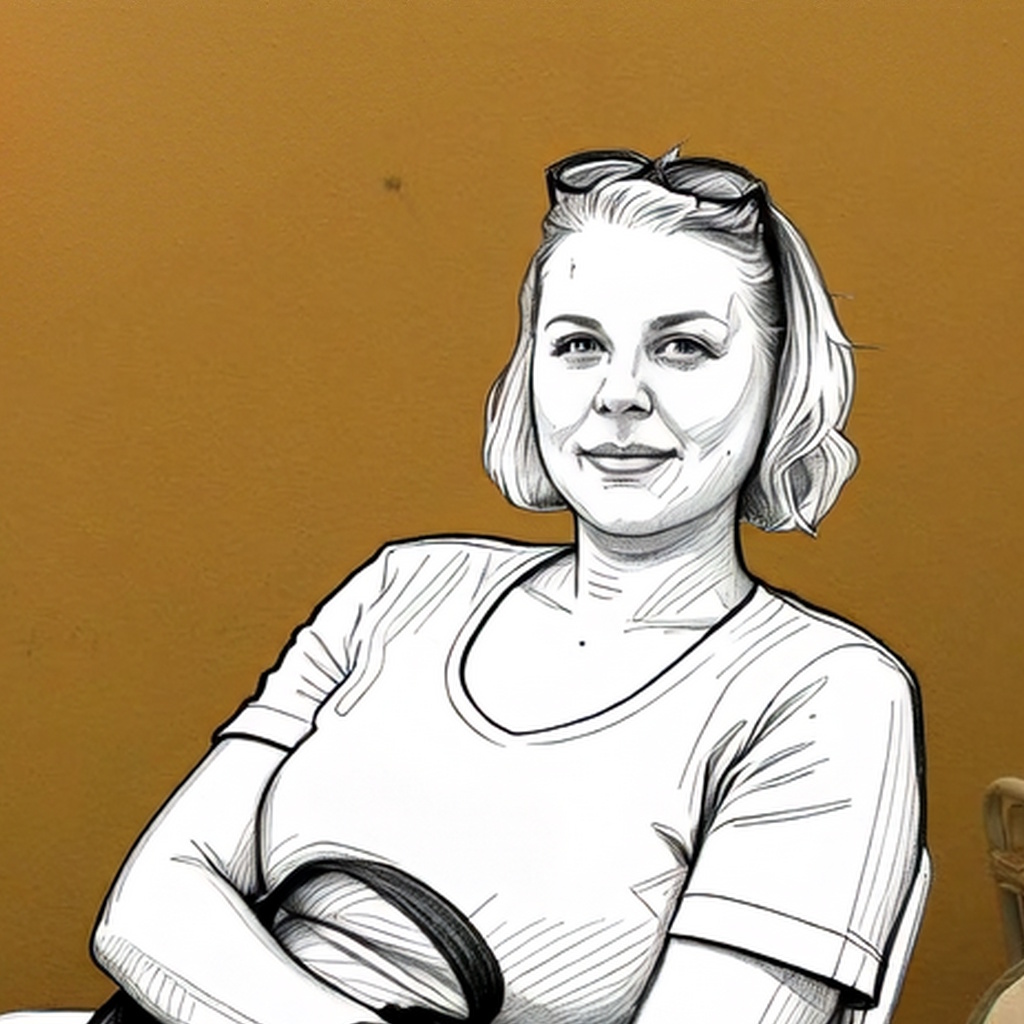
„Create a pencil sketch of the woman. Make sure her facial features remain the same so she is still recognizable.“